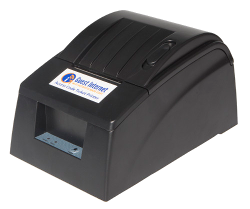
GIS-TP1
The ticket printer has an Ethernet interface and connects to the gateway's LAN network.
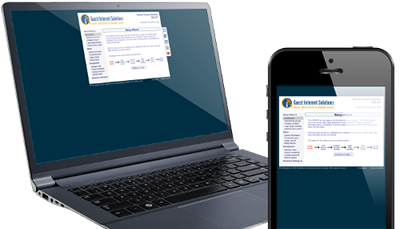
A tablet computer or computer can be used to control the printer. Buttons are displayed on the tablet screen or monitor for up to 10 different access code durations. Touching any button causes the ticket to be generated and printed.
The ticket printer is plug and play, simply enter the business information that should be printed on the ticket and the printer is ready to use.
Ethernet
LAN: RJ-45 10/100
Dimensions and power
13cm x 22cm x 12cm
12v 110v/220v (36W)
WARRANTY
1 year
Operation
58mm (2 1/4") thermal paper
available from any office supply store
LAN: RJ-45 10/100
Dimensions and power
13cm x 22cm x 12cm
12v 110v/220v (36W)
WARRANTY
1 year
Operation
58mm (2 1/4") thermal paper
available from any office supply store
1. Power up your GIS-TP1 using the power supply provided.

2. Connect an Internet cable on the LAN port and connect the other end to your GIS unit.


3. Visit http://aplogin.com/admin/printersetup.cgi.
You can read more about printer setup here.

2. Connect an Internet cable on the LAN port and connect the other end to your GIS unit.


3. Visit http://aplogin.com/admin/printersetup.cgi.
You can read more about printer setup here.
